Showing posts with label Recycled. Show all posts

Tuesday, July 5, 2011

Shirt Skirt

       After seeing a post from Blue Babes Create on making a paperbag skirt out of a Men's dress shirt, I knew I had to try it. In truth, it was quite spotty, but it was much better than nothing.
       My only problem was finding the right shirt. I had three my dad has previously given me to make my Shirt Dresses. They were just um... how can I put this nicely? Ugly. They all looked fine as a shirt but they were dark green stripes, an ugly puke green with odd patches that were supposed to be there, and blue stripes. I went for the blue stripes since it was the least appalling.
         Okay... and now brace yourself for some hideous webcam photos. GASP!
                                                  
 Lovely huh? 
For most of the steps I was all cut and no measure. Pretty daring. 


 Here's a very awkward picture of how my waistband turned out. Sorry holding a laptop upside down and angling it just right is VERY tricky! 
The tutorial does NOT tell you that you need an extra piece of fabric or how big it should be. I just dug out an old very cut up denim shirt, found the largest piece, and cut it into a rectangle.
      
Please excuse my awkward posing: 


I'm quite proud of myself, though. I might try this again with a much more attractive shirt from salvation army. I seriously wish I'd taken the pocket out. There's a little whole in it which annoys me. I already sewed over the top of it to put my waistband in so I'd have to take that out to take the pocket out, too. Not going to happen. Thankfully, just as I was sewing over the pocket, I discovered a lump which turned out to be an old snotty tissue. Glad I found that or else it would probably be in there... forever.


I caution you if you're going to attempt this tutorial. I think I did a fine job on mine in terms of construction. It all worked out in the end but there were definitely some key details that were left out but don't give up. Just try to look at the pictures and use common sense. If you need any help, just shoot me an email and I'd be happy to help. My skirt probably took about three hours. I spent extra time on little things like the belt loops because my fabric kept fraying and breaking loose each time I'd try to turn them inside out. 

I'm off to the beach tomorrow to spend a few days crafting with my aunt. See you in a few days :)

Friday, April 22, 2011

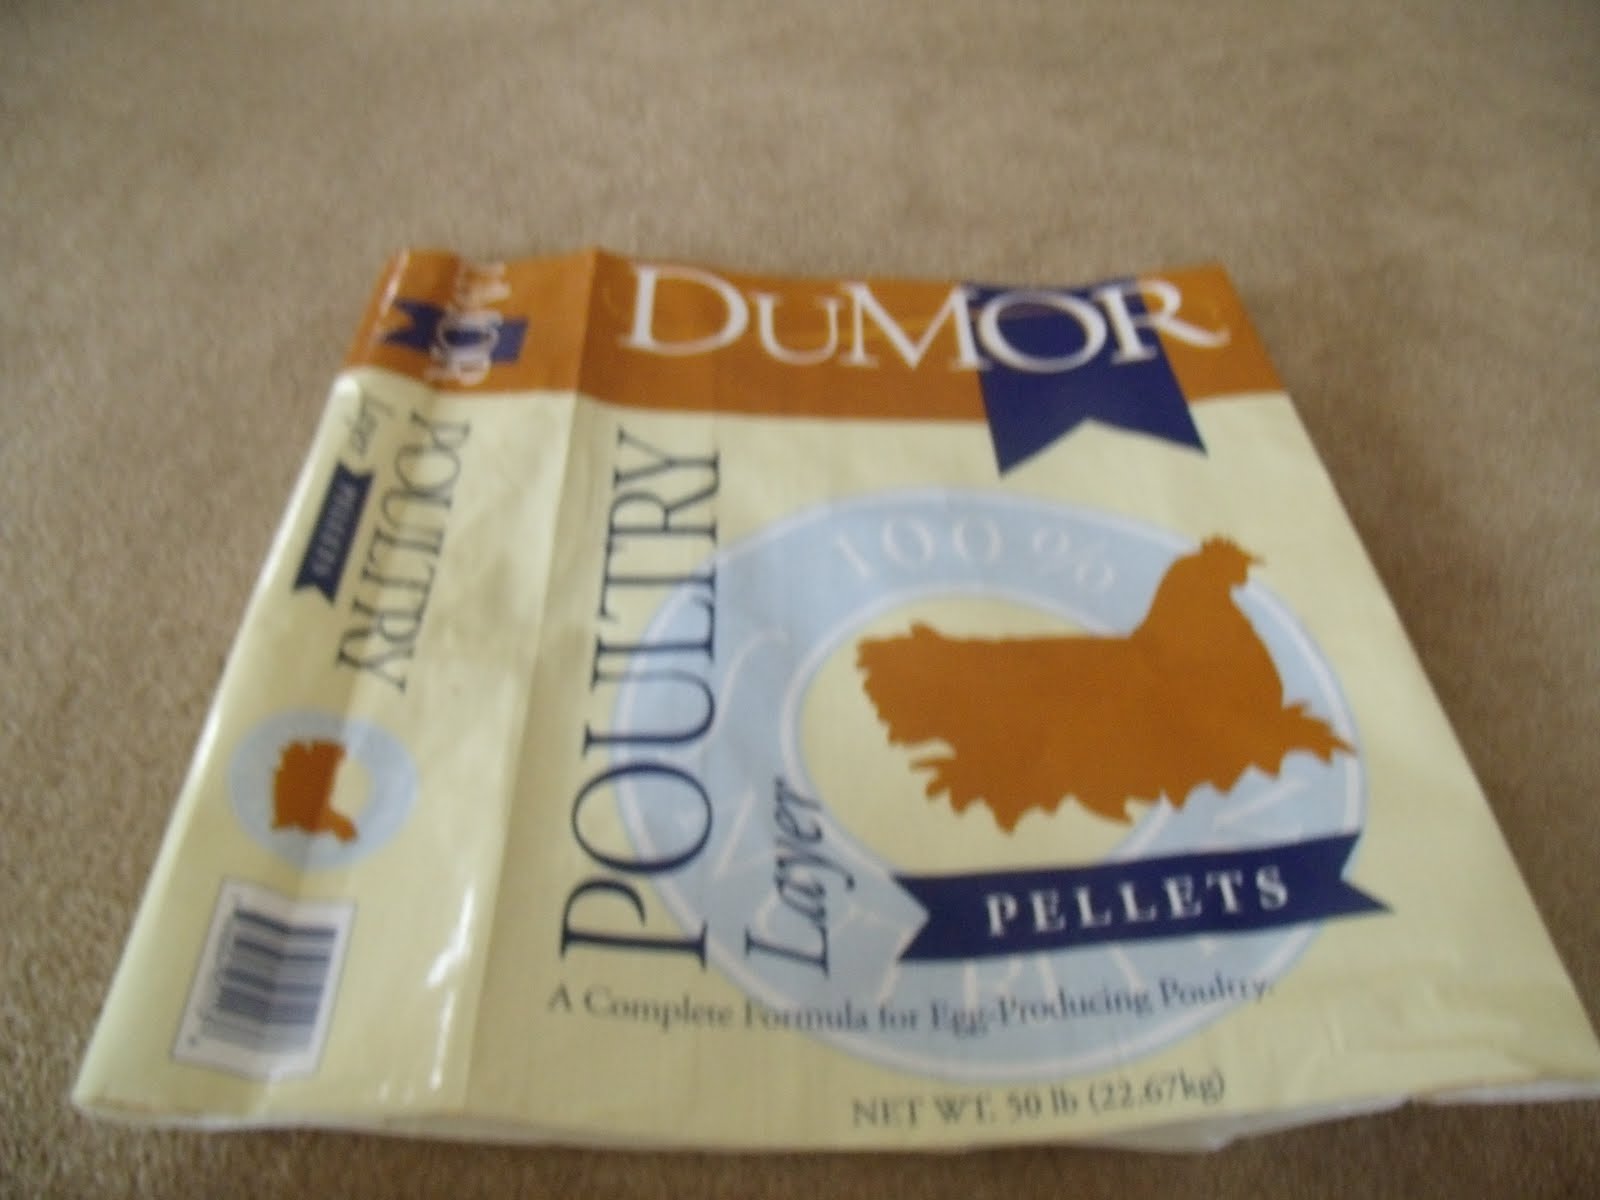
Feed Sack into Reusable Bag

As I was feeding my chickens this morning, I went through the last of this bag of feed. I felt an urge to do something with it in honor of Earth Day. I set it in the trash can knowing I'd be back for it. After quite a few minutes of looking for tutorials on how to make a reusable bag out of a feed sack, I finally came across one understandable enough at Backyard Poultry. I followed their directions and here's some pictures if you want to try to make one. Their directions were a little spacy, though.


 Add another inch on for the bottom so it's really 16" by 6 1/4"

 Sewing the bottom is VERY awkward!
 Whoops!
 It's the surprise inside!


 I did make a few mistakes along the way. Sewing through many layers is hard and slowwww.
       It's obviously not perfect but I am proud of myself. If you have any feed sacks left over from anything, GO MAKE ONE! There's nothing better than being able to go show off your stuff at the grocery store. They often give you savings for using your own bags. Less trash, more cash! It's a win-win! I think I might have to make some as gifts!

Tuesday, January 4, 2011

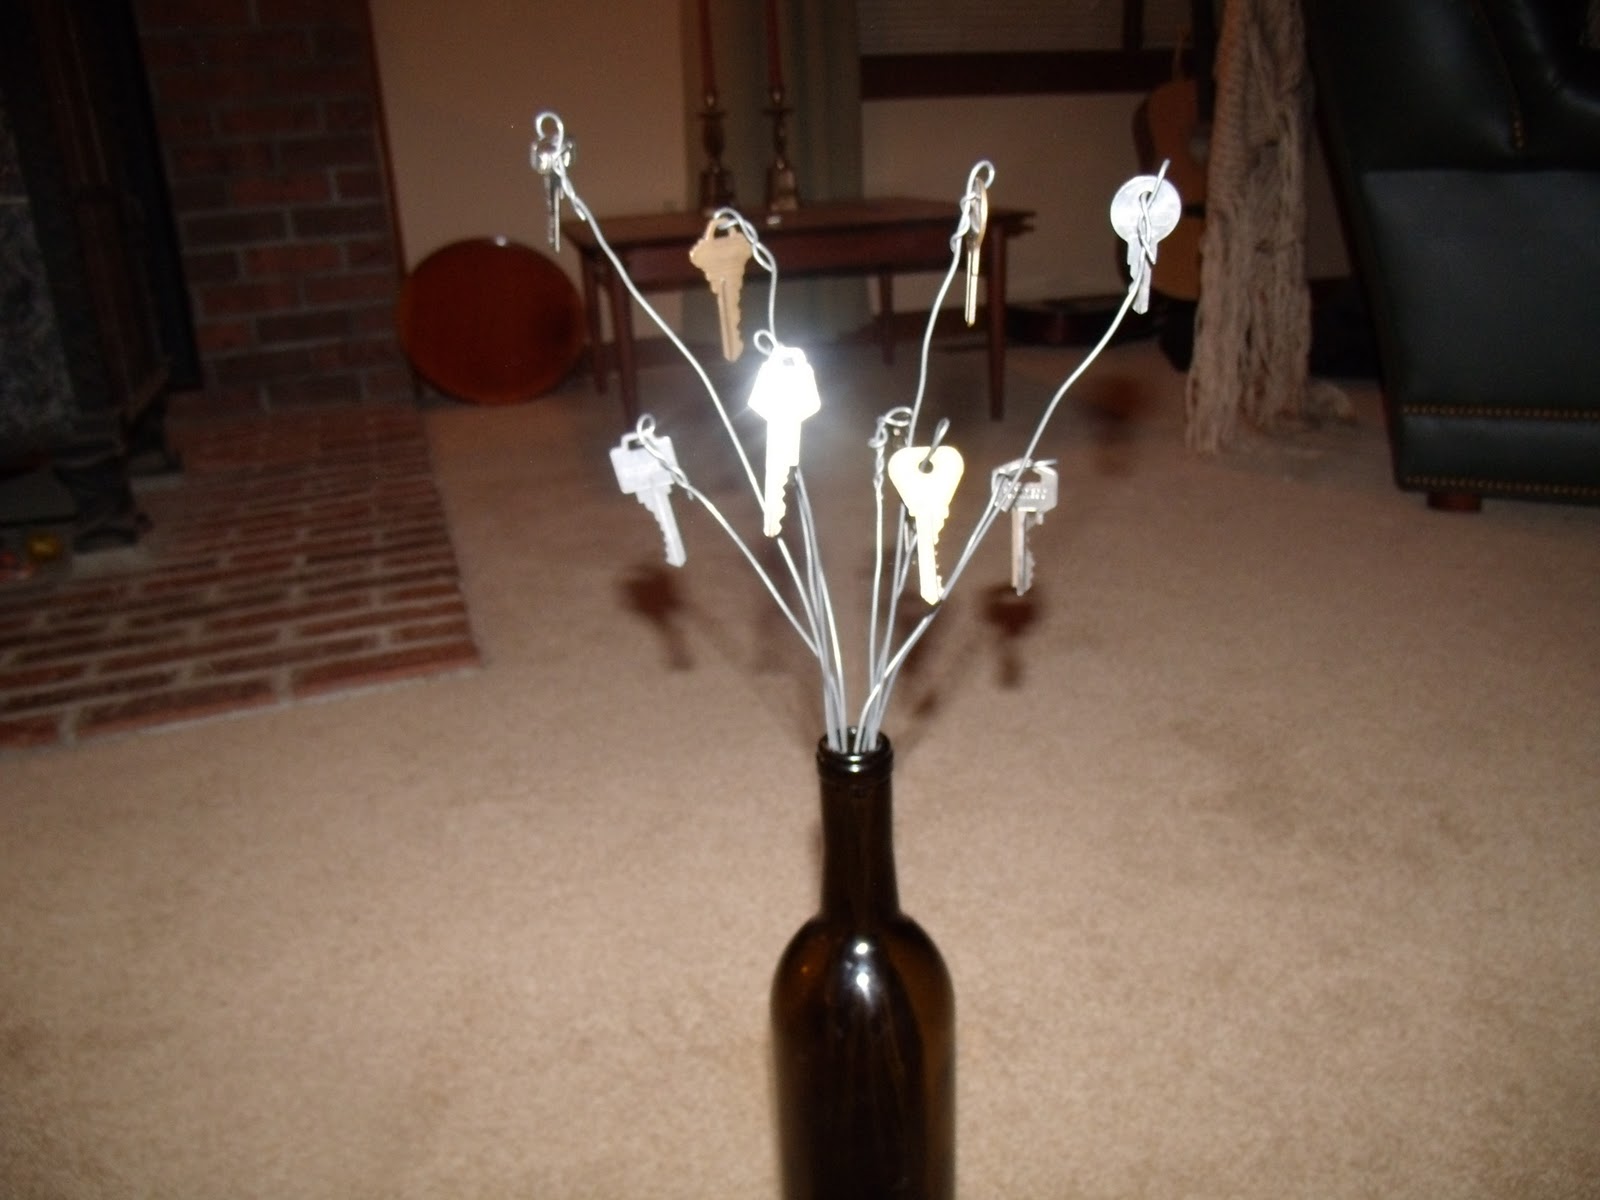
Junk tree in a bottle!

I really couldn't think of a better name for this, so sorry if it doesn't do this project 'justice.' I guess I'm sort of embarrassed to admit this, but I got the inspiration for this craft from a craft book from the 70's. Oh well! Anyway, this CAN be a slightly simple craft, but it's sort of hard. I WOULD NOT recommend this for young kids because of the glass bottle and the wire.


Time: Really depends on how many 'branches' you do, probably around 30 minutes or so
Materials:
Wine Bottle (or some sort of vase, just something to display your branches in)
Soft Wire (Amount depends on how long and how many branches you choose to have)
Junk! (Could be old parts-like above- or maybe keys or something else)
Wire cutter (If the pliers you use don't have a built in one)
Pliers (I'd recommend long nosed ones)
Here's the pliers I used just in case you need a visual

Directions: 
1. Gather up all your  old parts you're going to use. I'm lucky to have a garage full of it! I personally think rusty looks a little better than shiny and new.  The book I read used parts from an old alarm clock.

2. Cut the wire to your desired lengths. I'd recommend cutting them to different lengths for an assorted look.  REMEMBER: Cut an extra inch or two just in case!

3. Wrap the end of a piece of wire around one of the parts, thus creating a 'branch'

4. Arrange all the 'branches' in a wine bottle, vase, etc.

I actually made the tree at the top and realized that it might look better with keys instead of old parts. Here's a photo:


It looks a lot better in person. I was just too lazy to turn on a light so I used the flash. Although I am kind of thinking that it looked better with the old parts instead of the keys! Oh well.

Sunday, December 26, 2010

Ransom Letter Cards!

No, you don't need to ask for any money and an abduction doesn't need to take place to make these cards!
 (These look so much better in person and with better lighting!) 

Time:  Around 15 minutes (It just takes a little while to find the letters)
Materials:

  • Scissors
  • Old magazine that can be cut up
  • Glue (Stick or bottled, it doesn't matter!)
  • A piece of ribbon or rick rack (Or any type of embellishment you like!) 
  • Card stock or any piece of paper
Directions: 
1. Fold over the paper in any way you please and cut it in half if you like!
2.  Cut out the letters from a magazine for your message and glue them down (I'd recommend a glue stick for this.) 
3. Cut a piece of ribbon or rick rack that can go across the card and glue it down (liquid glue might be easier for this part.) 
4. Now send your creation off on it's merry way to it's grateful recipient! 

Collages!

Easy to make, great looking... and slightly time consuming... one of my favorite art projects... collages!


Time: This is varied based on how big you make your collage and what type of glue you use
Materials:

  • Some sort of canvas or other surface.  (I used canvases with a wood frame on back)
  • Paint (Optional but recommended-for painting surface before adding stuff)
  • Old magazines that can be cut up (Depends on how big your collage is going to be, but I recommend NOT using TIME or other really thin magazines)
  • Paint brushes (for glue or paint) 
  • Decoupage glue or some other type (I actually used Zip guard with a satin urethane wood finish... it actually turned out really nice; we were out of glue) 
  • Newspaper or something to put under your project
  • Scissors ( I recommend a nice, sharp pair for closer edges)
Directions: 
  1. If you are going to paint the canvas, do it now so it can dry while you cut. It looks better to have a colorful back round poking through than just white.
  2. It's time to C-U-T! Go crazy! I'd recommend cutting out A LOT of pictures now, so when it's time to glue, you can just focus on gluing and not cutting.  In my opinion, for people, animals, objects, etc., it looks better if you cut them out exactly. 
  3. Get ready... set... GLUE! If you're using Decoupage glue, be careful because it's hard to move or lift up a picture after it's soaked in the decoupage. *TIP* Start gluing at the top of the canvas and work your way down. 
  4. Just brush on your final layers of glue, let it dry, and wallah! Time to dispaly and let the compliments come! 
Here's how I hung my collages in my bedroom: 
Don't mind the poreclian dolls or the cheesy comforter over the futon...

*There's a link for decoupage glue recipe above*

Saturday, December 25, 2010

Toilet Paper Roll Wall Art!

See those flowers? Can you guess what store I bought them at? If you guessed Costco, you're correct! 

No, I'm pretty sure Costco doesn't sell wall art like that, but they do sell toilet paper!
NOTE: This project is NOT hard at all! Unless you cannot use scissors or glue; then you'll have a problem... 

To make flowers like the ones above...
Estimated time: Approx. 45- 60 mins, depending on glue, paint, design, and speed you're working at. (REMEMBER: IT COULD TAKE MUCH LONGER THAN THIS THOUGH!)
Materials: 
  • 4 toilet paper tubes
  • Scissors
  •  Paints (spray paint or whatever paint you feel like using will most likely work. I used some basic acrylics) 
  • Paint brushes
  • Hot glue gun OR white glue 
  • Paper clips (IF using white glue)
  • Marking tool (Yes a pen or pencil is fine!)
Directions:
  1. Measure out 1/2 increments on the TP tubes and mark it. (You can make your sections as thick as you want, but I would recommend using pieces around this width.) I made two marks on opposite sides of the tubes, then I flattened the tube and cut on the marks. FYI, I used 10 petals for each flower. 
Just pretend this is an actual TP tube and not just a rolled up, flattened, sticky note... you get the picture.

     2.  If you are hand painting, now is the time to do so! If you're spraying it, skip this step for now! 

     3.  After the petals are all dry (if you hand painted them), now is the time to arrange them! Go crazy! If you follow my materials and instructions, arrange them in a flower, but here's a picture for inspiration from Design Sponge:
(For this I'd use many more tubes and spray paint it!) 

    4. Once you're happy with your design, glue for it (Hahaha go for it... glue for it... get it?). Anyway... if you're using white glue, use the paper clips to hold the wet pieces together while they dry. If you're hot gluing it, you don't need to.

   5.  *FOR SPRAY PAINTERS ONLY* Now is the time to paint! Go outside or in a well ventilated area and.... you know the drill... hopefully.
  
  6. Last but not least, display and e-n-j-o-y! 


Related Posts Plugin for WordPress, Blogger...